Toon crafter workflow
5.0
2 reviewsDescription
Hi everyone,
This is a basic default Toon Crafter workflow. When you want to utilize Toon Crafter, you should not rely completely on the workflow. Here’s a step-by-step guide to creating a animation:
1. Create Keyframes
First, you need to make keyframes for Toon Crafter. This is the main step for creating the animation. I started by doing four poses in a 3D software. You can use Blender, or if you don’t know how to use 3D software, you can create the keyframes using other methods, like shooting yourself on camera and extracting the keyframes.

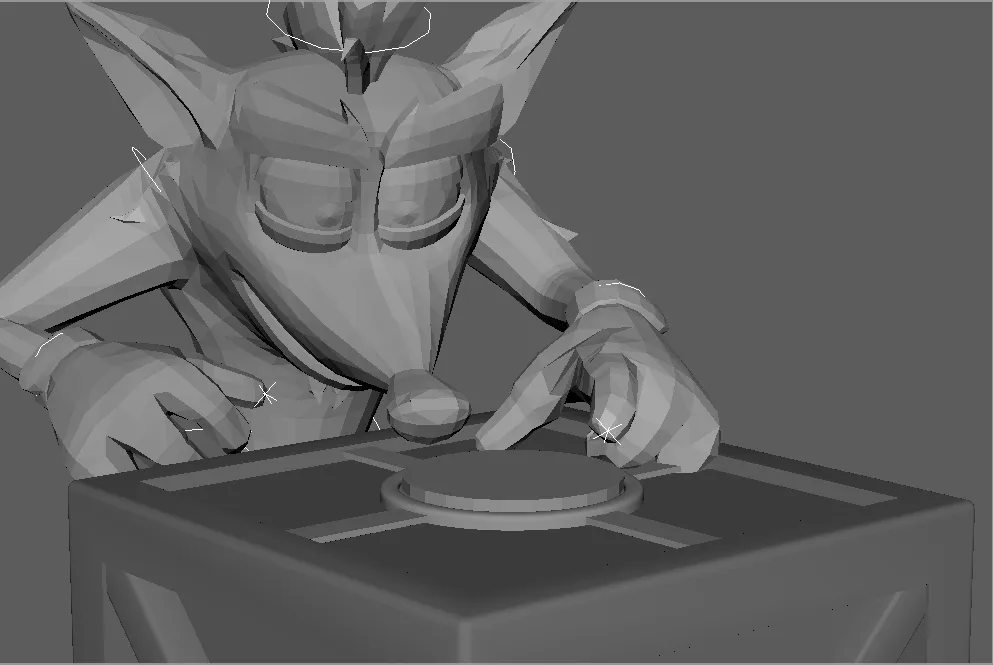
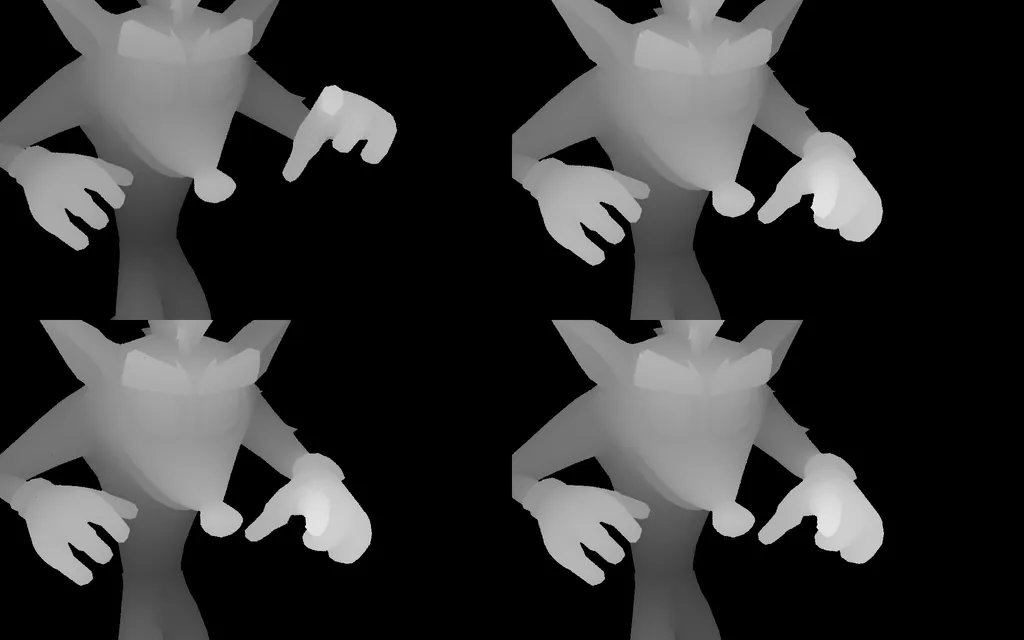
2. Generate Depth Map and Canny Edge
After creating these four poses, I generated a depth map and a canny edge.
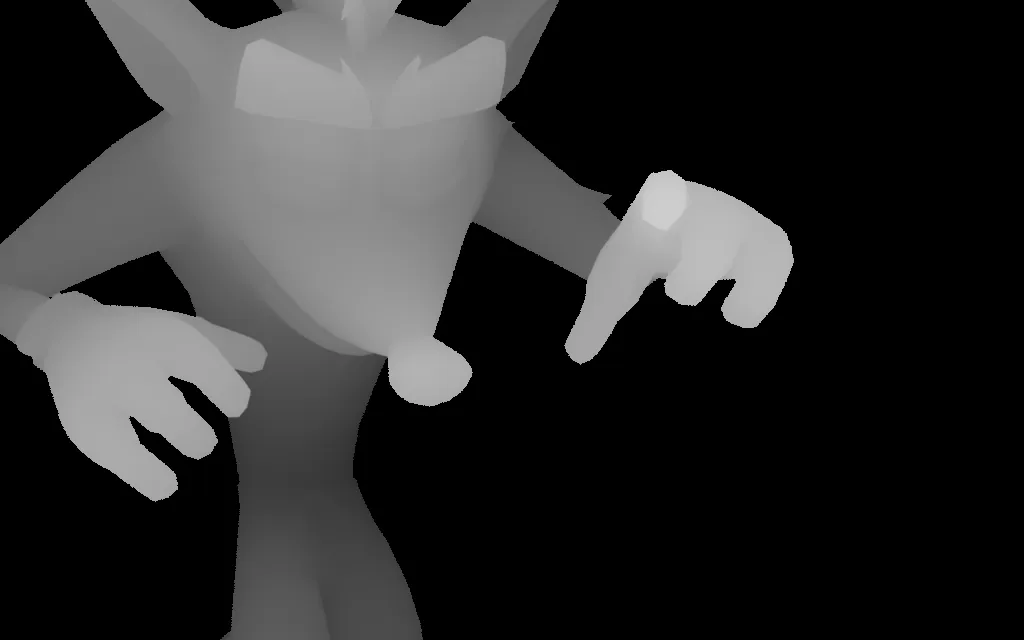
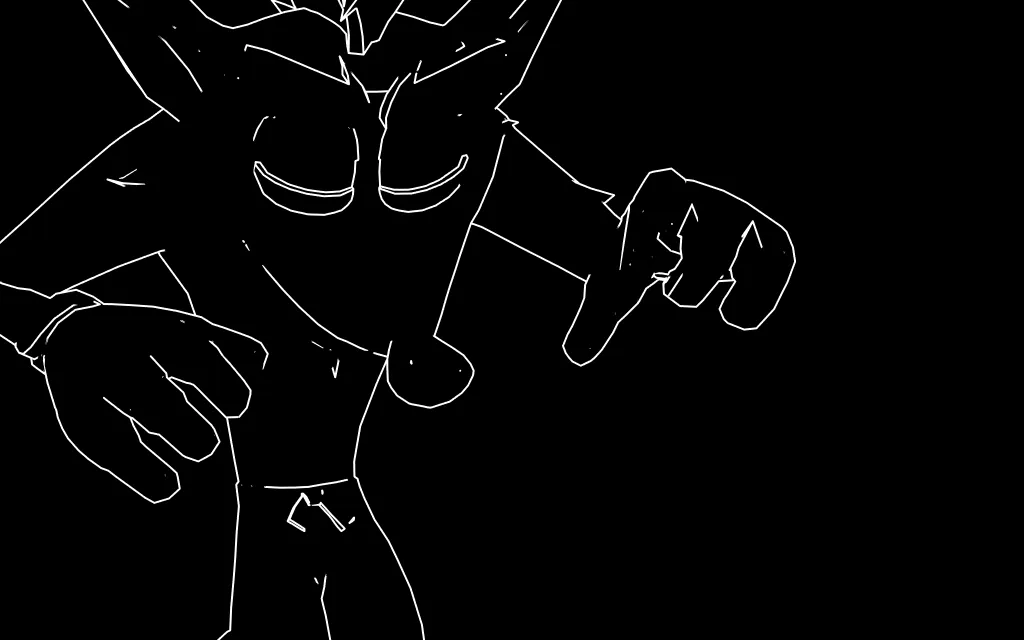
3. Create Spritesheet
After generating the spritesheet, use this canny and depth spritesheet as a ControlNet input in Text-to-Image and generate the final frames. This ensures a consistent character when generating in a single batch inside Stable Diffusion.
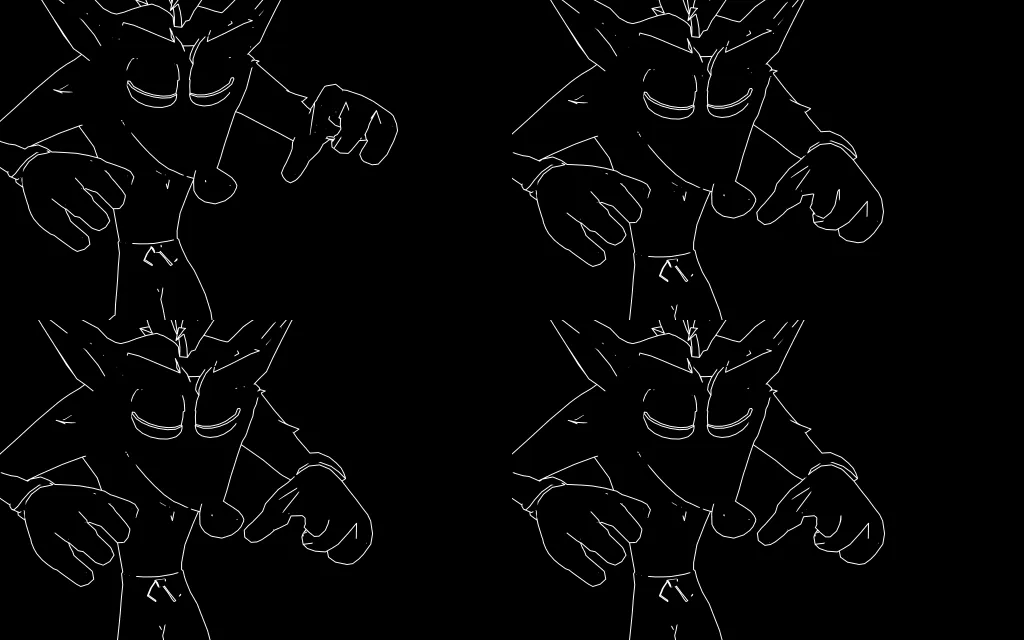
After 2-3 generations i got this image:
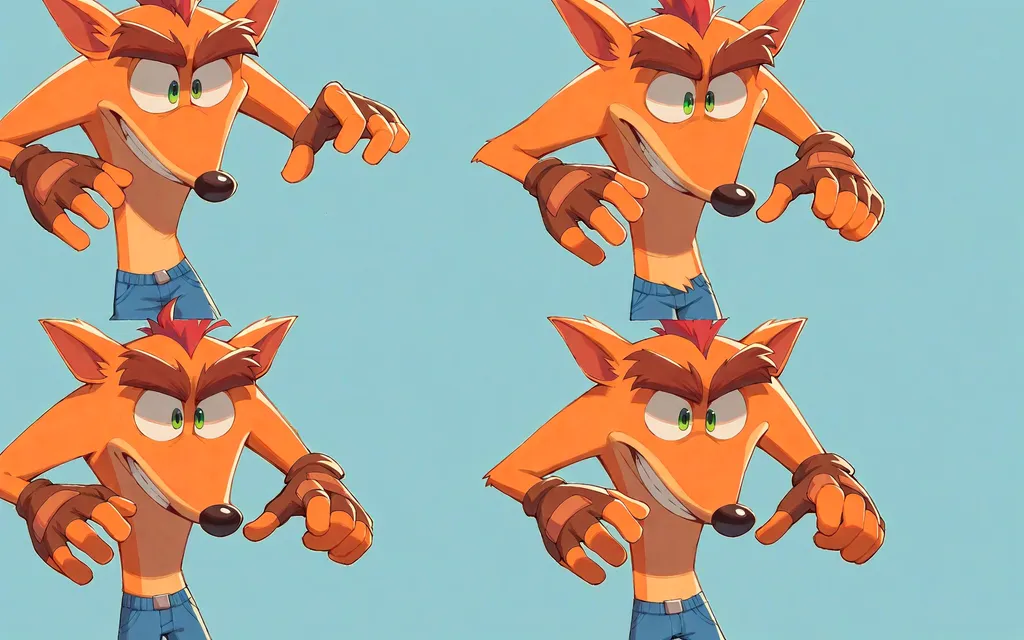
4. Slice Spritesheet
I sliced the spritesheet using (Sprite sheet slicer) and selected only two frames (1st and 4th frames) due to the VRAM problem—my PC has only 12GB VRAM.


5. Composite with Background and Foreground
I composited it with a background and a crate in the foreground using Photopea website (free).
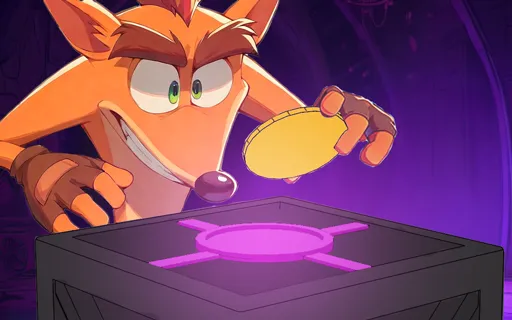

6. Finalize Animation
Finally, I used these two keyframes inside the Toon Crafter workflow. After 2-3 generations, I got this result.
Following this organized workflow will help you create smooth and consistent animations using Toon Crafter.
Discussion
(No comments yet)
Loading...
Resources (4)
Reviews
No reviews yet
Versions (1)
- latest (a year ago)
Node Details
Primitive Nodes (6)
DownloadAndLoadCLIPModel (1)
DownloadAndLoadCLIPVisionModel (1)
DownloadAndLoadDynamiCrafterModel (1)
Reroute (1)
ToonCrafterDecode (1)
ToonCrafterInterpolation (1)
Custom Nodes (11)
ComfyUI
- CLIPTextEncode (2)
- LoadImage (3)
- VHS_VideoCombine (1)
- GetImageSizeAndCount (1)
- ImageResizeKJ (3)
- ImageBatchMulti (1)
Model Details
Checkpoints (0)
LoRAs (0)