The World Builder's Handbook
.png)
The new Worlds feature does something that previously required 3D software, technical experience, and a lot of patience: it turns your images into a navigable 3D environment you can actually walk through, frame, and shoot from. No Blender. No modeling. Just images, and then a world.
This guide pulls from two in-depth walkthrough videos to give you everything worth knowing: how to build your world, how to move through it, and how to get a production-ready shot out the other side. Watch alongside, or use this as your standalone reference.
What OpenArt Worlds is
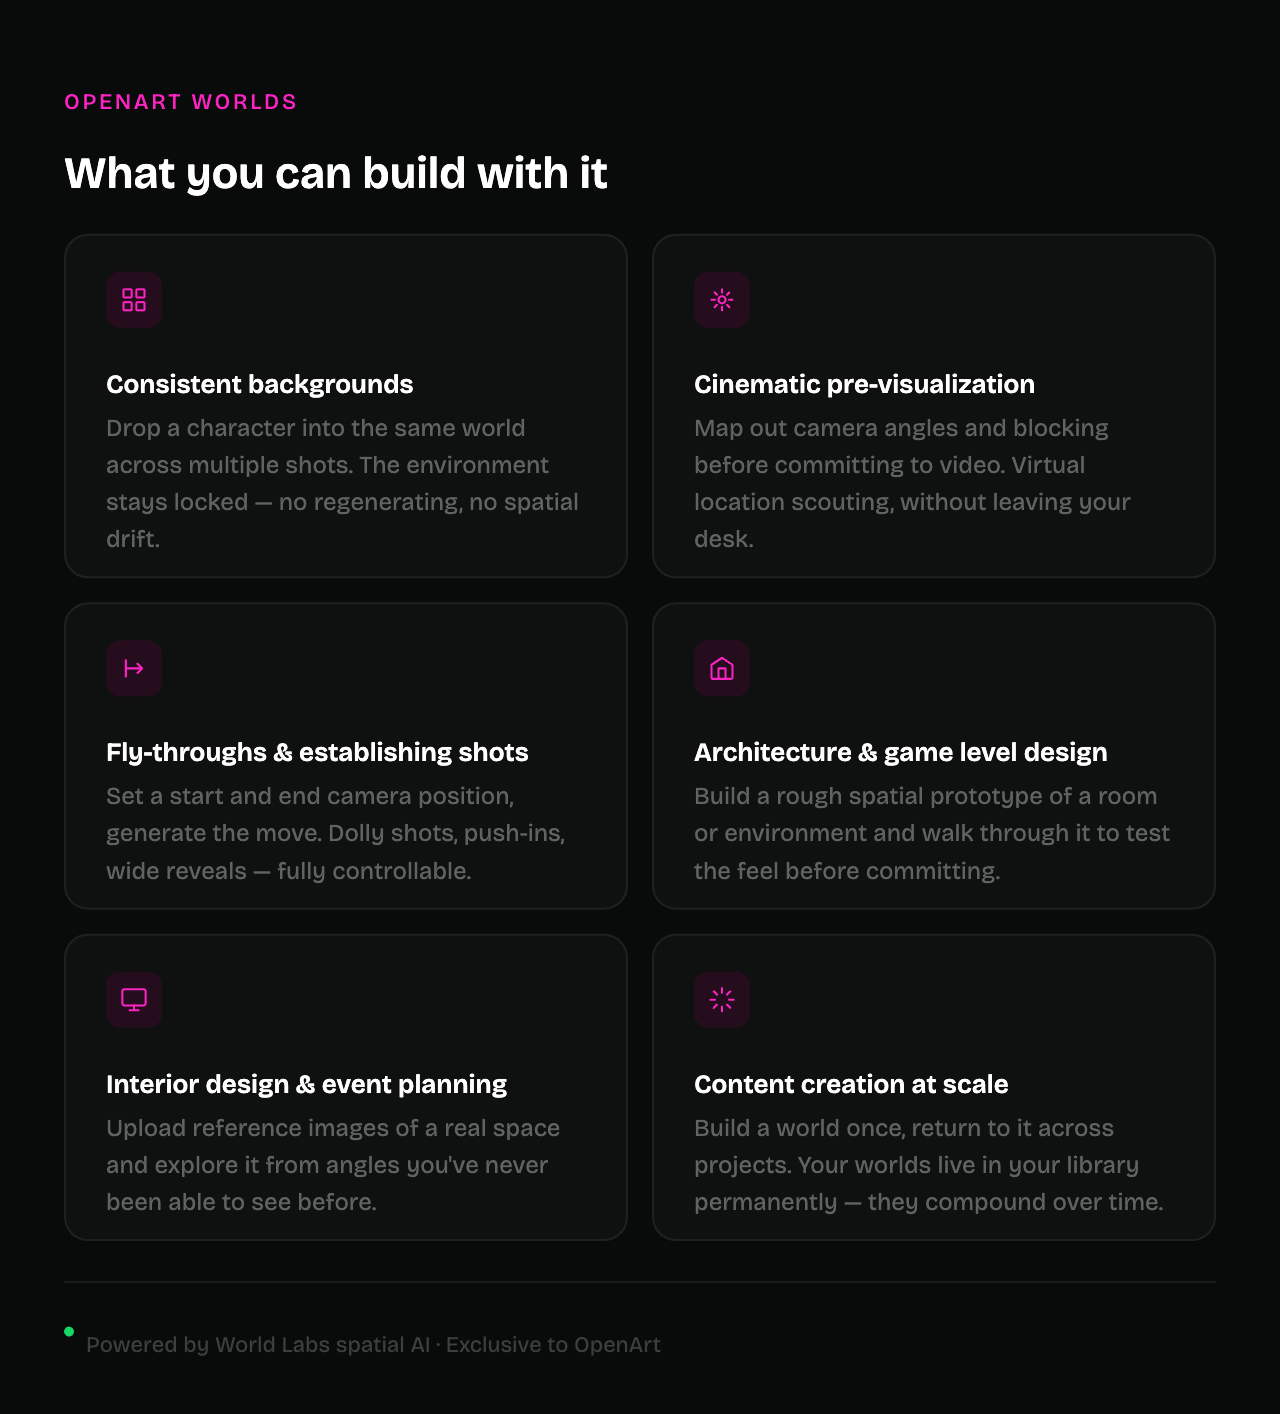
Worlds is a feature inside the OpenArt Suite, built on spatial AI from World Labs, that converts one to four images into a persistent, navigable 3D environment. You move through it, frame shots from any angle, add characters, and capture images — or use those captures as keyframes for video.
The key word is persistent. In standard AI image generation, every output is a fresh roll of the dice: the lighting shifts, the room reconfigures, continuity breaks. Worlds fixes this at the environment level. Once built, your space is fixed. The corner of the room is always that corner. You're working inside a set, not re-prompting one into existence every time.
Creating Your World
Step 1: Upload your images (1–4)
Head to openart.ai/suite/world and upload between one and four images. The spatial logic matters here, as the video explains at 9:05:
- First image → front of your space
- Second image → back
- Third image → left
- Fourth image → right (optional)
One image works fine. The AI extrapolates the rest of the environment from that single input. Two or three images give it more spatial reference and tend to produce more coherent results, and you don't need all four to get something strong.
Single image mode: Enter a text prompt to guide the style, mood, and content of your world.
Multi-image mode: The prompt field disables automatically, and that's by design. When you're providing multiple spatial references, the images are the instruction. See this explained at 10:16.
Step 2: Generate
Hit generate. While it processes, you'll see a panoramic preview of the space before full generation completes. This is useful for catching whether the spatial logic is reading correctly before you commit.
Step 3: Navigate the 3D World Cam
This is the part that trips people up the first time. It's covered at 3:00 in the walkthrough. Once your world is built, you navigate it like a first-person game:
- WASD to move forward, back, left, right
- Mouse to look around and change your angle
- Scroll to adjust movement speed
Take your time here. Walk the space and find angles you didn't expect. The value of Worlds is in exploration — you're actively directing where the camera goes, not just accepting a default view.
Getting the Shot
Once you're positioned where you want to be, here's how to capture. See the composition workflow starting at 4:32.
Static image: Frame your shot and capture. The output is auto-upscaled, so fine texture and depth hold up cleanly in the final image. You can also capture a panoramic image from any position, which is useful for wide establishing shots or environment reference.
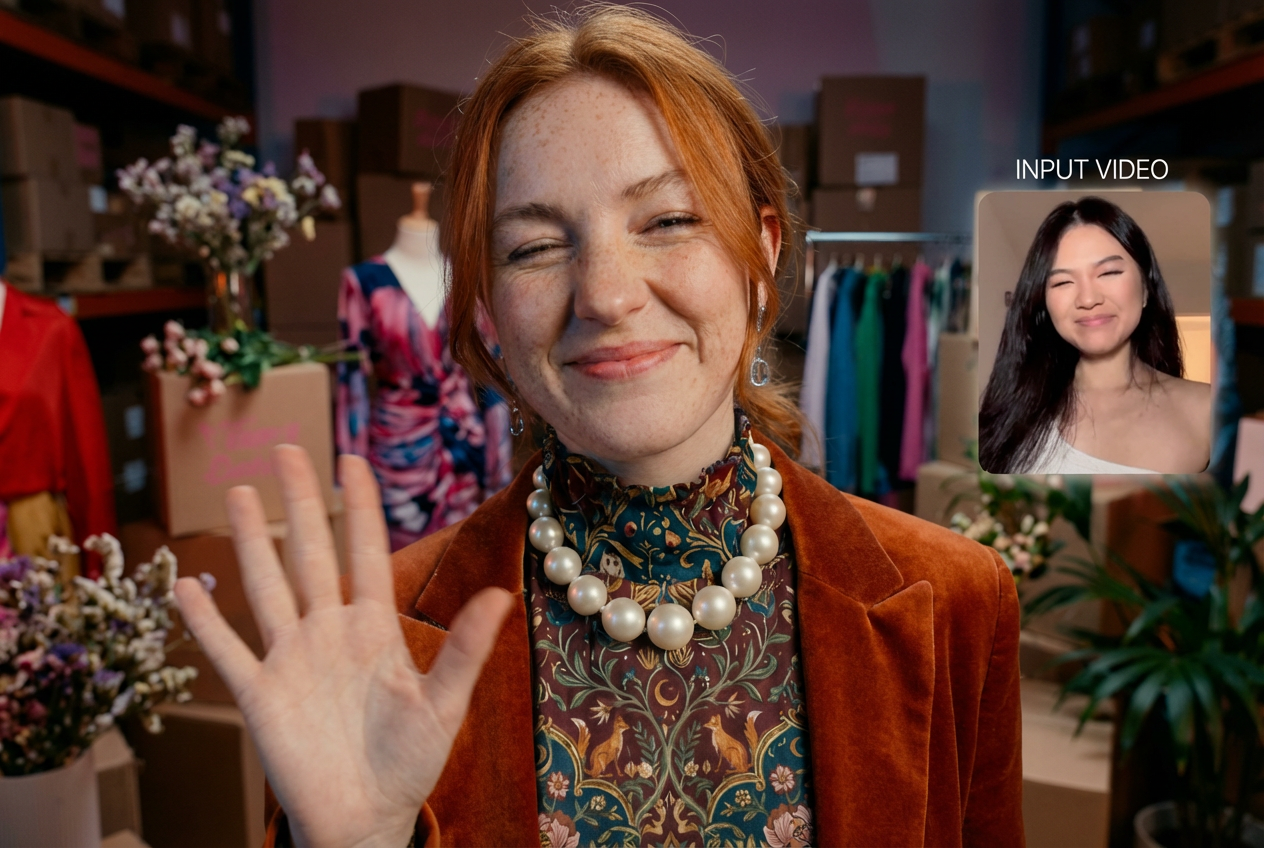
Adding a character: In composition mode, place a character into the 3D space, position them relative to the environment, and prompt what they're doing. Because the environment is spatially locked, the character inherits the correct lighting, perspective, and background automatically. Watch this in action at 6:00. Worth noting: the composited image may need some post-production polish, so use it as a near-final output or a clean production reference depending on your tolerance for tweaking.
Start & End Frame
This is the most cinematic feature in Worlds, and probably the least self-explanatory. Bob walks through it in detail at 6:45:
- Navigate to your starting camera position and set your start frame
- Navigate to your ending camera position and set your end frame
- Generate, and the tool creates a smooth camera move between the two points
What you get is a clip: a controlled camera move through your world that works as a video segment, a keyframe reference, or a foundation for further video generation. Combine it with character compositing and you can create shots with character interaction and a moving camera, then stitch clips together into a sequence. This is what unlocks Worlds for actual filmmaking workflows, not just image production.
Pro Tips
Tip 1: Make your starting images more cinematic before you build. At 9:13 in the second video, Bob drops a prompt you can screenshot and reuse. The idea is to run your source images through a cinematography-styled prompt before uploading to Worlds, because better input images build better worlds. Think wide angle, natural light, environmental storytelling. The model responds to the language of real photography.
Tip 2: Use Blueprint mode after generation. Covered at 11:10 in the first video. Blueprint gives you an overhead view of the spatial layout, which is useful for understanding the geometry of what was built, repositioning yourself, and making edits. If you get spatially disoriented in the 3D cam, and it happens to everyone, Blueprint is your reset.
Tip 3: Three images is often the sweet spot. The fourth slot is optional, and in practice three strong reference images frequently produces excellent results. The AI handles the gap. Don't force a fourth if you only have three good ones.
Tip 4: Think spatially when selecting source images. The AI is constructing a 3D model from flat images, so the clearer the spatial relationships in your inputs — this is the front wall, this is looking back from the entrance — the more coherent the resulting world. For fictional or designed environments you have more creative latitude.
What This Actually Changes
The technical description, "persistent navigable 3D environment," is accurate but undersells it. The better frame is this: for the first time in AI creation, you have a set. Not a generated background. Not a reference image. An actual environment that holds across every shot, every session, and every project you bring back to it.
That's what film productions have always had. That's what game engines give developers. Worlds makes that available starting from a few photos and a creative idea, and the ceiling, based on what people are already building just a week in, is genuinely high.
Try it: openart.ai/feature/openart-worlds
Questions? Find us on Discord.